Getting started with Typescript on Gatsby
After working on my personal portfolio with Gatsby, I took some time to transition my project to Typescript. It was the perfect opportunity to learn how to use it as I have never worked with it in the past.
Learning about how to write Typescript types and how to use it wasn’t much of a problem as I’m used to working with Flow. However, it was the whole set up of tslint, remembering to install type definitions and simply writing custom type definitions that were new to me and not as easy as I would have expected. This is why I thought this would deserve a little article containing an up to date guide explaining how to set up all these tools and get them to run properly on an existing project.
In this post, I will guide you through setting up an existing Gatsby project with Typescript, tslint and Prettier. If you’re new to Typescript, I truly hope this will help you get started with ease and help you write even better code that you already do 😊.
The first step towards having Typescript running on an existing codebase is to install several dependencies. As we are working with Gatsby we’re pretty lucky here: there are Gatsby plugins that provide drop-in support for Typescript and tslint: gatsby-plugin-typescript, gatsby-plugin-tslint. Additionally, we will need some extra dependencies such as:
- types: @types/react, @types/react-dom to support specific React and ReactDom types, or any type package from specific packages you might be using. I’m using react-helmet for example and luckily there was a @types/react-helmet package available for it.
- tslint: this will replace eslint.
- tslint rules: we’ll use tslint:latest, tslint-config-prettier and tslint-react here, but you can add any rules from any package available such as tslint-config-airbnb. The key package to install here is tslint-config-prettier, it will ensure that no tslint rule will conflict with our Prettier config.
- tslint-plugin-prettier: this plugin needs to be present in your tslint config along with tslint-config-prettier. It will ensure that Prettier is run as a tslint rule.
- typescript and tslint-loader: these are required for the gatsby-plugin-typescript to work.
Here’s a simple command you can use to install all of the dependencies mentioned above, feel free to add any type package or additional tslint rules that you might need:
Command to install all the required dependencies
1yarn add gatsby-plugin-typescript gatsby-plugin-tslint && yarn add --dev typescript tslint tslint-loader @types/react @types/react-dom tslint-react tslint-config-prettier tslint-plugin-prettier
Now that we have everything installed, we can start setting up Typescript. It can be a bit overwhelming at first so I’ll break the steps down and give a bit more context below:
- Typescript config: this config will live in a file at the root of our Gatsby project and will be named tsconfig.json. Here we will set up our compiler options, and which folder to include or exclude in our project when it comes to compiling Typescript files. You can generate a sample config using the
./node_modules/typescript/bin/tsc --initcommand.
Here’s the config I ended up using on my end, but feel free to tweak it so it fits the needs of your project:
tsconfig.json example
1{2"compileOnSave": false,3"compilerOptions": {4/* Basic Options */5"target": "es5" /* Specify ECMAScript target version: 'ES3' (default), 'ES5', 'ES2015', 'ES2016', 'ES2017','ES2018' or 'ESNEXT'. */,6"module": "commonjs" /* Specify module code generation: 'none', 'commonjs', 'amd', 'system', 'umd', 'es2015', or 'ESNext'. */,7"lib": ["dom", "es2015", "es2017"], // "allowJs": true, /* Allow javascript files to be compiled. */ // "checkJs": true, /* Report errors in .js files. */8/* Specify library files to be included in the compilation. */910"jsx": "react" /* Specify JSX code generation: 'preserve', 'react-native', or 'react'. */,11"sourceMap": true /* Generates corresponding '.map' file. */,1213/* Strict Type-Checking Options */14"strict": true /* Enable all strict type-checking options. */,15"noImplicitAny": true /* Raise error on expressions and declarations with an implied 'any' type. */,1617/* Additional Checks */18"noUnusedLocals": true /* Report errors on unused locals. */,19"noUnusedParameters": true /* Report errors on unused parameters. */,20// "noImplicitReturns": true, /* Report error when not all code paths in function return a value. */21"noFallthroughCasesInSwitch": true /* Report errors for fallthrough cases in switch statement. */,2223/* Module Resolution Options */24"allowSyntheticDefaultImports": true /* Allow default imports from modules with no default export. This does not affect code emit, just typechecking. */2526},27"include": ["./src/**/*"]28}
- Tslint config: this config will contain our linting rules for our typescript codebase. At the root of our project, we can create a tslint.json file and add the following to it (or you can also initialize a config
./node_modules/.bin/tslint —-init):
tslint.json example
1{2"rulesDirectory": ["tslint-plugin-prettier"],3"extends": ["tslint:latest", "tslint-react", "tslint-config-prettier"],4"rules": {5"prettier": true,6"jsx-no-multiline-js": false,7"jsx-no-lambda": false,8"import-name": false,9"no-boolean-literal-compare": false,10}11}
Note: It is very important to have tslint-config-prettier as the last tslint set of rules in the extends array to ensure the other rules will be overridden by the rules of this package.
Under rules, you can enable or disable any tslint rules you want. The documentation for the core rules of tslint is available here.
gatsby-plugin-typescript and gatsby-plugin-tslint: here we simply need to add gatsby-plugin-typescript and gatsby-plugin-tslint to the gatsby-config of our project. Other options can be added as well but they are not needed for the rest of this post.
Add the following scripts yo your package.json:
package.json scripts
1"type-check": "tsc --noEmit",2"lint": "tslint --project ."
The first one will ensure you have no conflicts in your types. The second one runs tslint to make sure all the rules we specified in the tslint.json file are respected.
If you’re using VSCode, Sublime or pretty much any modern code editor, a plugin is most probably available to let you run tslint, tsc and Prettier everytime you save a file.
Now that the setup is complete, we’re ready to start writing some typescript. Running yarn develop at the root of your Gatsby project should work and let you view your website as before.
Thanks to gatsby-plugin-tslint, we should now be able to see all the tslint warnings and errors in the terminal. Despite these, we are still able to view our Gatsby project in our browser. This is great because it lets us migrate our existing codebase to typescript piece by piece or as we need.

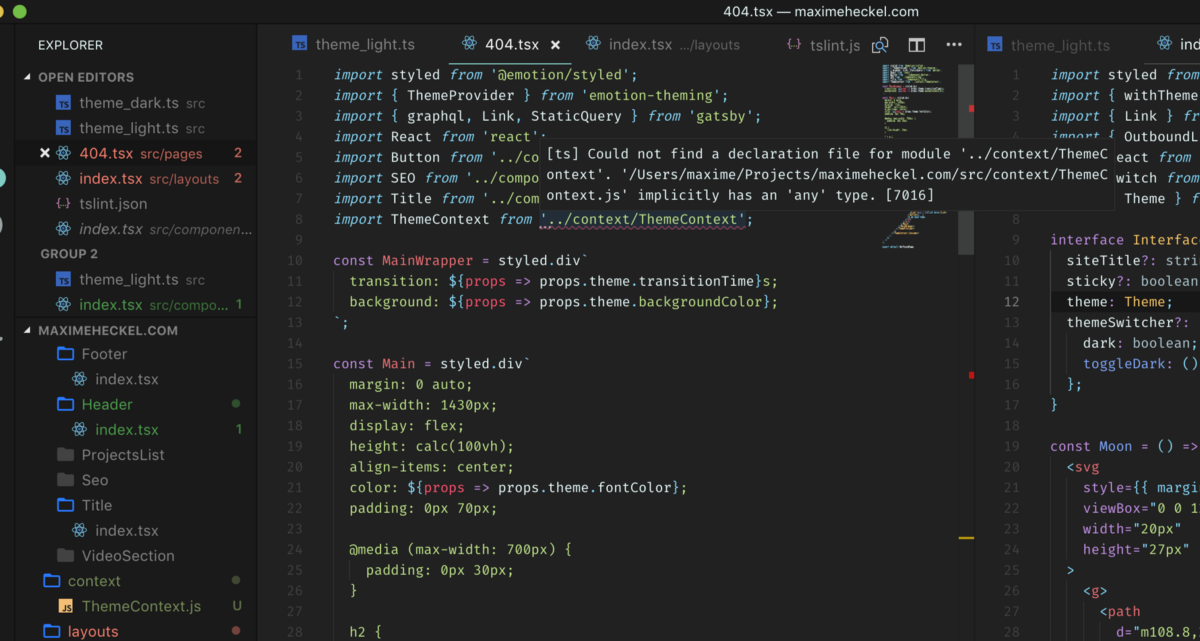
We can now start transitioning our code from Javascript to Typescript. To convert a file to Typescript, simply change the extension .jsx to .tsx or .js to .ts (and do not forget to update the reference of any .js or .jsx files to .ts or .tsx in your gatsby-node.js and gatsby-config.js). Then we can write types and interfaces and fix type issues one by one. After converting our entire codebase, we might have one issue remaining: some of the npm packages that we’re using might not come with a type definition. For those, we’ll have to declare these types ourselves in our project.
The first step for this part is to create a @types folder in src. This folder will contain any custom type definition we will need for our project.
As an example, in the following steps, I will use the gatsby-plugin-google-analytics package as I personally needed to write a custom type for it in my own project. This package exports a OutboundLink component that is not typed and my editor was highlighting this as a warning. This is what I did to fix this:
1. create gatsby-plugin-google-analytics.d.ts in the **@types folder
**2. add the following in this type file:
Example of a custom type definition for the gatsby-plugin-google-analytics
1declare module 'gatsby-plugin-google-analytics' {2let OutboundLink: (props: any) => JSX.Element;3export { OutboundLink };4}
Here we are naming the module the same exact way the package is named in our project. We then have to write the type of the OutboundLink component and export it the same way it is exported in the package.
After this, any import statement for OutboundLink should not cause any Typescript warnings anymore.
We now have a fully working Typescript setup for our Gatsby project with tslint and Prettier! You now have all the tools in your hand to get started and learn typescript by converting your project piece by piece as you learn. Take your time to get used to Typescript and appreciate all the amazing tooling that the community provided for us to write even better code.
I used the steps above to setup Typescript on my own Gatsby website and thanks to that I feel more confident to start using it on bigger projects in the near future.
Shout out to Marino Guerieri (marinoguerieri.com) for commenting on the post with the parts I’ve missed.
What to read next?
If you want to read more about React or frontend development, you can check the following articles: